
Sony PS1 Guncon 1 Trigger Kit Guide
1. Introduction
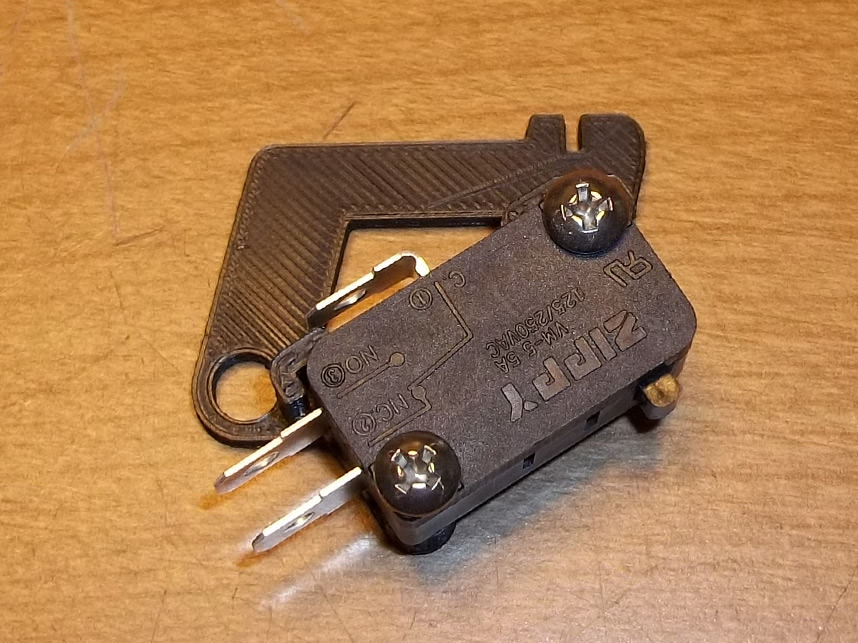
The PS1 Guncon switch kit has been designed to be used with standard microswitches.
Note that there could be some dimensional variance in the injection molded parts that the 3D printed parts fit into. You may have to perform some filing or use a razor/sharp knife to widen holes if things are too tight. I design these kits to be snug as it's better to have excess material instead of 'not enough.'

2. Opening
You must first unscrew and open the housing shell of the Guncon. Set aside the screws so they don't get lost!
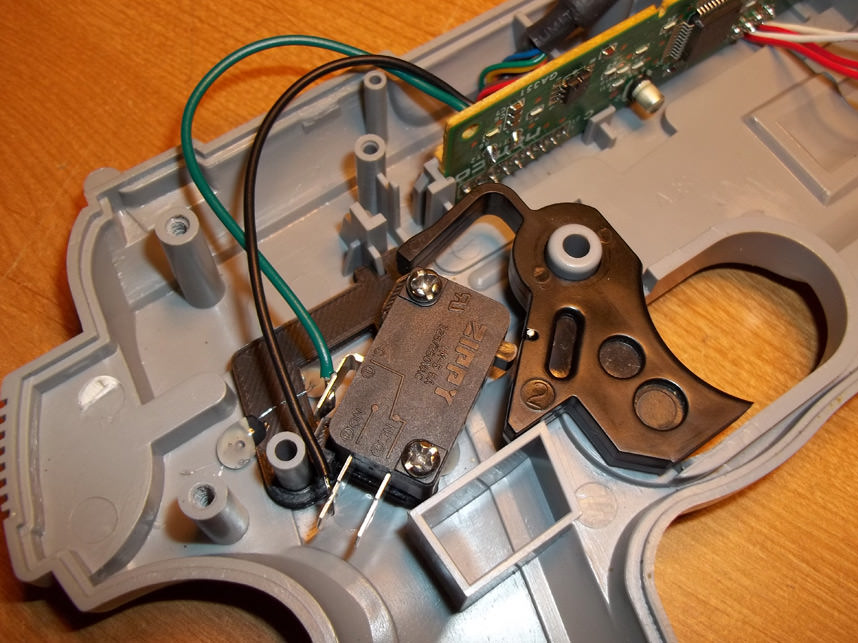
Lift the original Guncon trigger button out of its holding track in order to press your new bracket into place. While it is a snug fit, you may want to secure it with a dot or two of hot glue to keep it from rocking out of alignment.
3. Switch Placement
Remove the original button board entirely and wire the normally open and common tabs in its place.
4. Adjustment & Closure
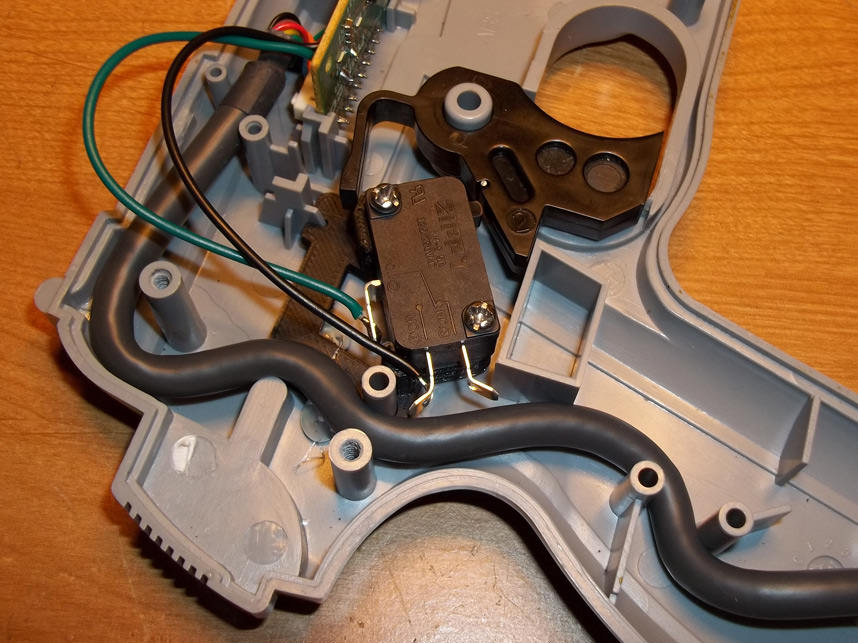
You may want to lightly bend these switch tabs to ensure they don't rub and cut into the controller cord after you slip it back into place.
Return the other half of the Guncon shell into place, making sure you don't pinch any wires before you screw everything back together.