
Sega Dreamcast Madcatz Dream Blaster Trigger Kit Guide
1. Introduction
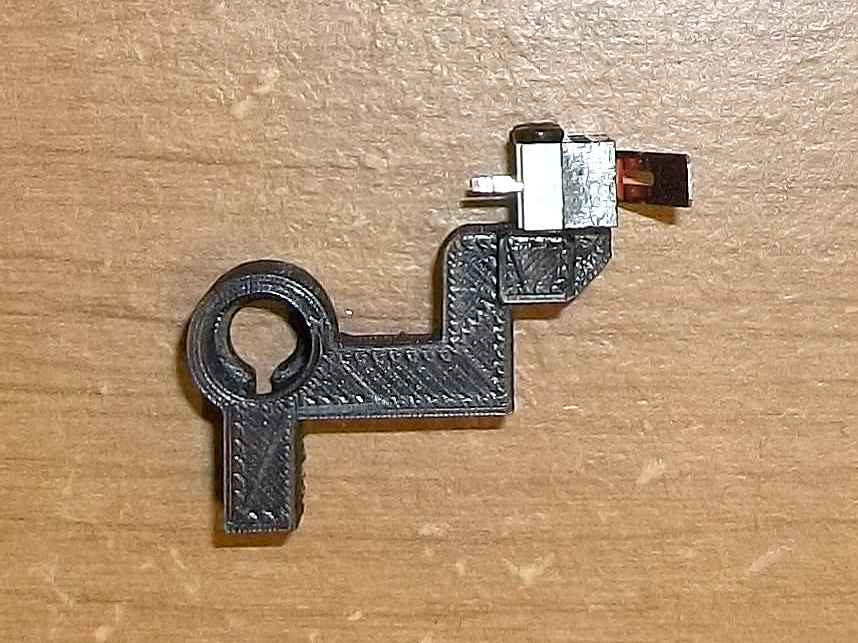
This kit replaces the function of the original pushbutton of the MadCatz Dream Blaster light gun with a levered microswitch behind the trigger, for improved tactility and more accurate pulls. Due to space constraints of this particular lightgun, a different switch is used instead of the usual Zippy 50 gram, and comes with two M2*8 screws. This kit is a potential repair for any MadCatz Dream Blasters with broken trigger pieces!
Note that there could be some dimensional variance in the injection molded parts that the 3D printed parts fit into. You may have to perform some filing or use a razor/sharp knife to widen holes if things are too tight. I design these kits to be snug as it's better to have excess material instead of 'not enough.'

2. Opening
Remove all screws from the right side of the gun and open it up as shown above.
3. Control Board
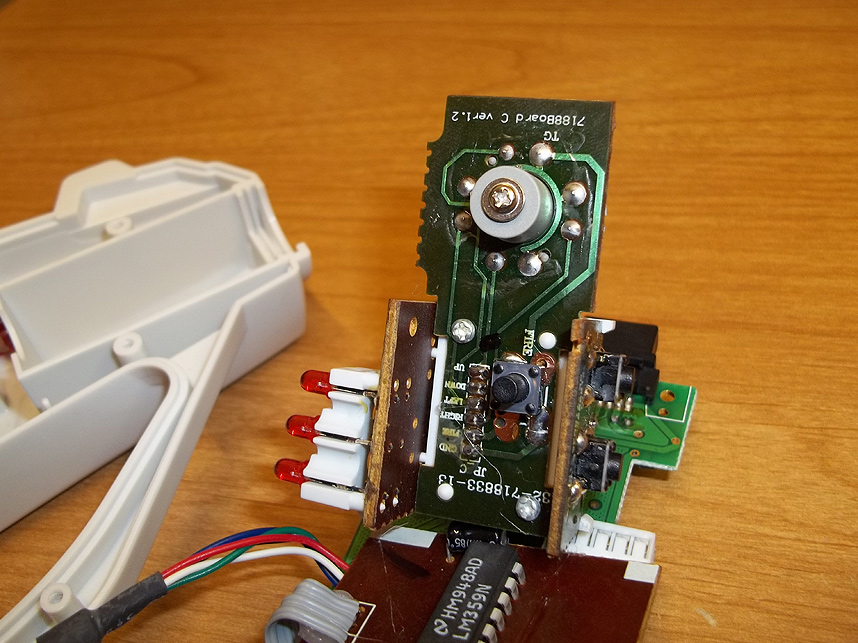
You'll want to remove the circuit board and focus on this particular section, it's the original pushbutton that the trigger engages. You do not have to remove this pushbutton!

4. Wiring Board
Wire to the two points shown above or you could wire to the GND and FIRE points marked on the board, it's up to you. You will have to solder these wires into place.
5. Wiring Switch
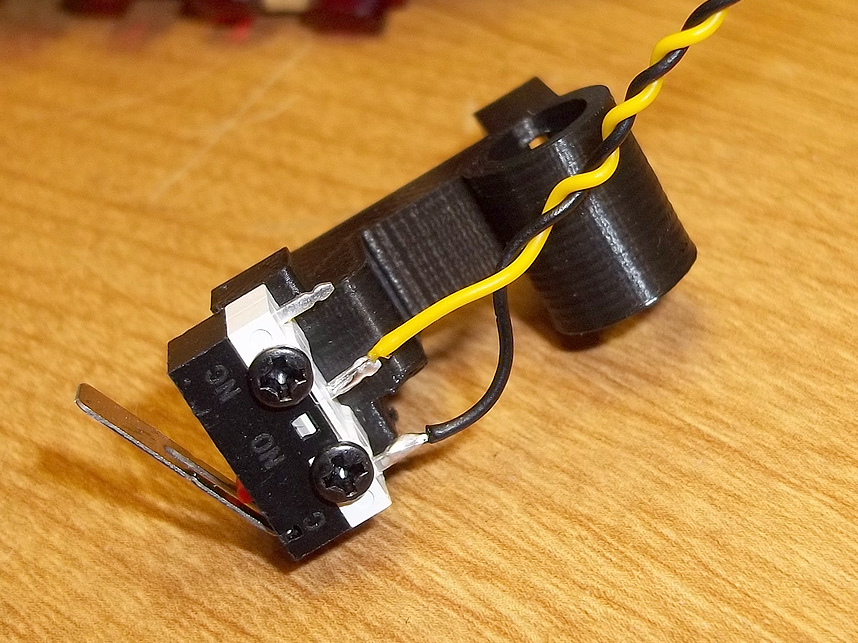
Solder the other end of the wires to the Normally Open and Common points on the microswitch as shown above.

6. Testing & Closure
Finally, replace the circuit board assembly and be sure to run the cord as it originally ran along the bottom of the gun. Then you can place the new switch bracket into place as shown. Test the use of the trigger a few times before closing it up and then screw everything back together.