
Sega Dreamcast HKT-7800 Trigger Kit Guide
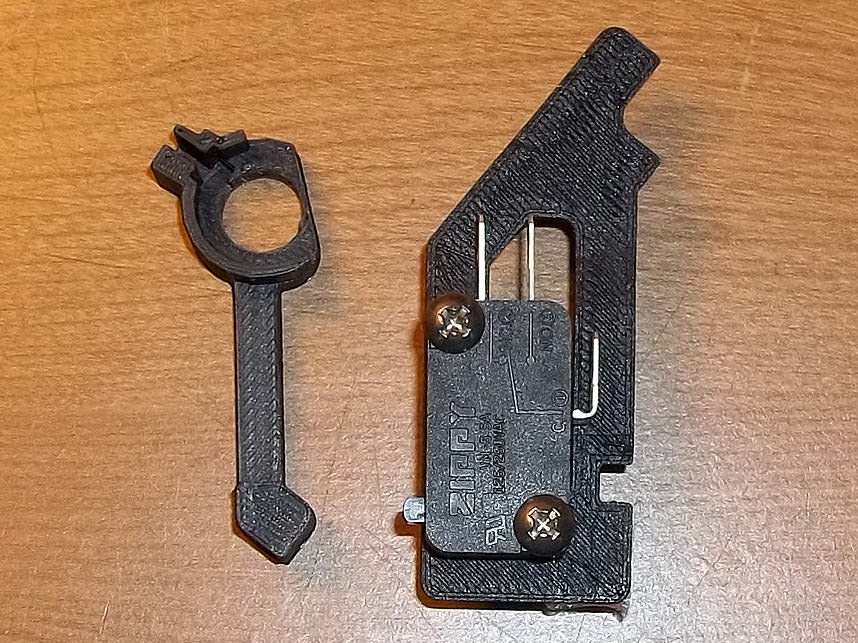
1. Introduction
This kit replaces the original pushbutton of the Japan exclusive Sega Dreamcast HKT-7800 'Virtua' light gun with a microswitch ahead of the trigger, for improved tactility and more accurate pulls.
Note that there could be some dimensional variance in the injection molded parts that the 3D printed parts fit into. You may have to perform some filing or use a razor/sharp knife to widen holes if things are too tight. I design these kits to be snug as it's better to have excess material instead of 'not enough.'

2. Opening & Inspection
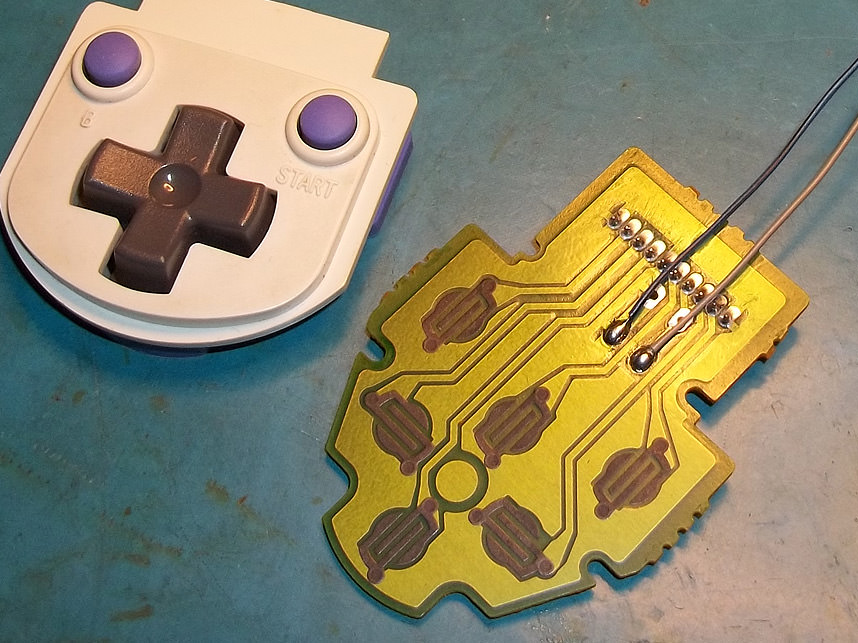
First, disassemble the lightgun housing by unscrewing it open, then locate and remove the original button located behind the trigger, you'll want to take out the control board (with the d-pad and B/start buttons) and unscrew the PCB to desolder or clip it out.
3. Board Connections
Solder two wires to the two points on the aforementioned control board as shown.
4. Adjustment
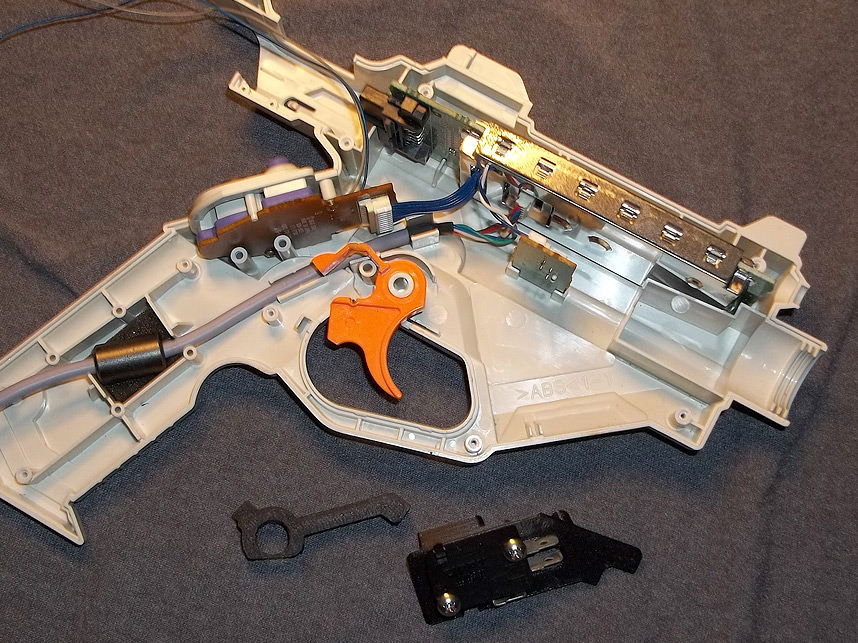
This installation can be a little tricky, the trigger piece mates with the other half of the gun shell while still attached to the trigger itself. You may have to open the gun again and make some adjustments with a hand file so the trigger doesn't feel sticky.
5. Wiring Switch
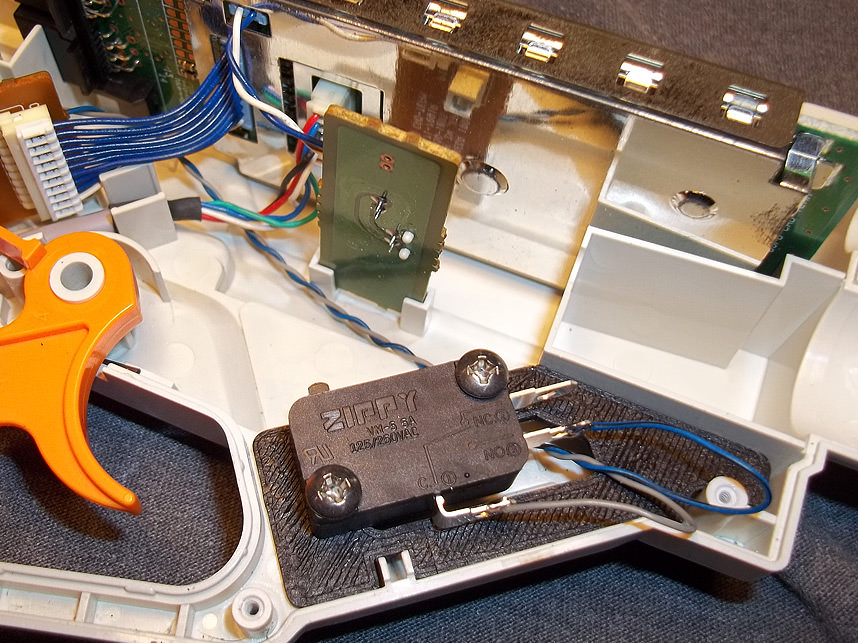
After placing the switch bracket, you can thread the new wiring through the middle before connecting to the normally-open and common tabs of the switch. This helps keep the wires from snagging on the trigger piece. Note that I've also braided the two wires together by simply twisted them onto one another to keep things tidy.
6. Testing Fitment
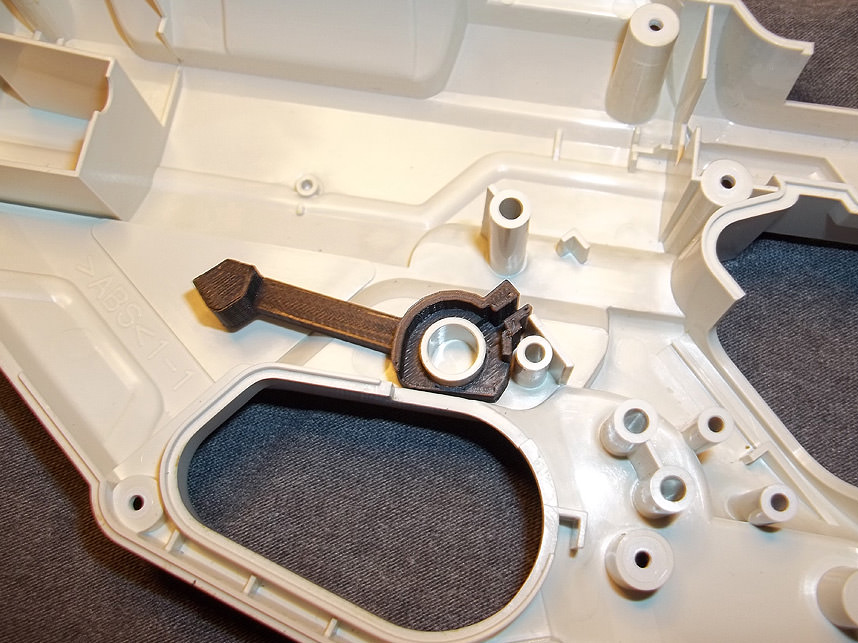
As mentioned earlier, the trigger piece sort of mates with the opposite half of the shell- you'll probably want to do a test fitting here as shown, just to make sure it swings easily. If it doesn't, use a round handfile to sand the inside of the hole evenly to make it loose, but don't take too much out.
7. Attachment
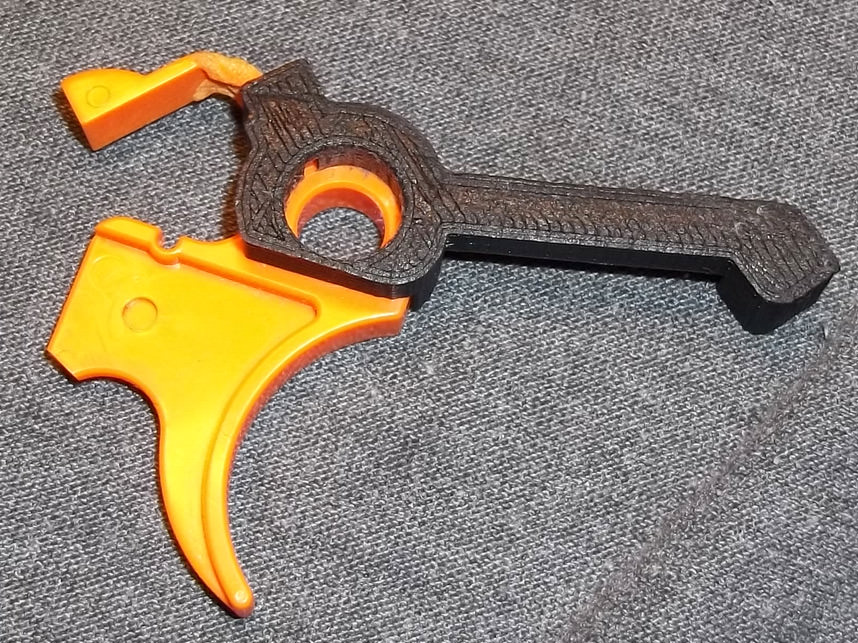
Fitting of the trigger piece sits as shown.
8. Verify Seating
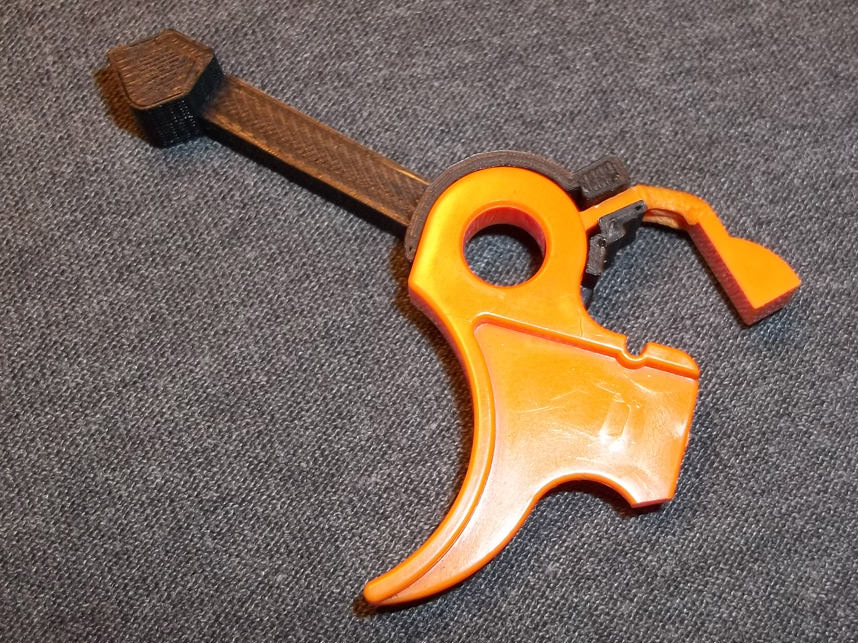
Opposite side.
9. Optional Anchoring
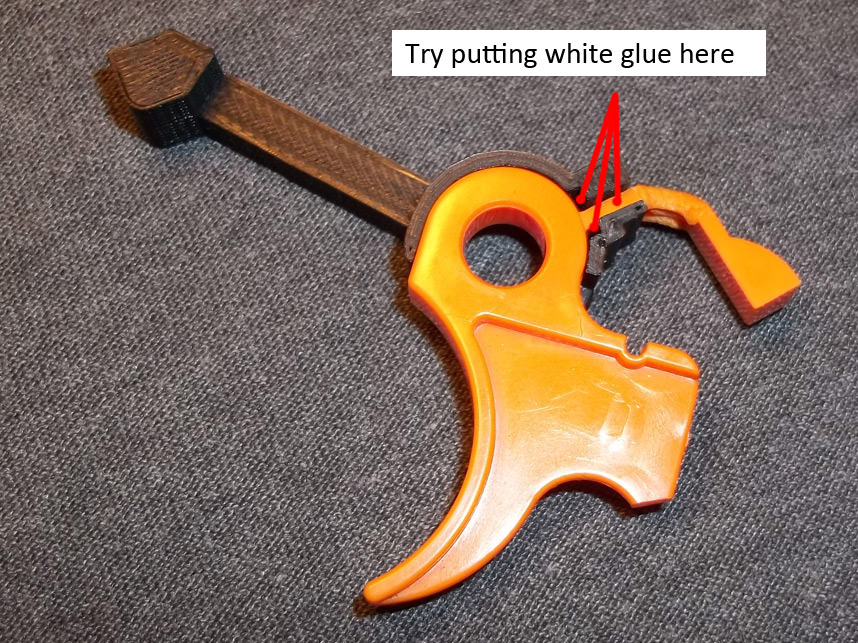
In the event that you later find your trigger piece shifting out of place during use, you can place basic white glue or hot glue into the indicated channel. Either glue is non-permanent and can be removed with isopropyl alcohol, but provides enough of a bond to keep the 3D printed part from shifting.

10. Testing & Closure
Finally, set the trigger into place and then close the gun back up, making sure that the hollow peg of the opposite gun shell seats into the large hole of the 3D printed piece. Test the trigger action a few times before screwing it shut, and you may also want to place a few dots of hot glue as shown on the switch bracket to keep it from swinging out of alignment.